Grisaille (pronounced 'griz-EYE') has a long history, and is a technique in what is called “indirect painting”, where, instead of brushing the final colour layers onto the canvas at the outset, the artist starts with an underpainting and then slowly builds up the layers until the painting is complete. As you can imagine, this takes time because each layer takes days, weeks or even months to dry.
More About How I Paint
When following the grisaille route (I often use a subset of it or even go direct onto the canvas with colour), I will usually start with a pencil or charcoal outline of the subject. This is a very useful stage since it gets the placement of details right. One of the challenges in layering is that the detail or resolution of lower layers can be lost, so it’s critical to get it right from the outset.

Once that’s complete, it’s beneficial to give the canvas a basic warm wash of a colour like burnt or raw umber. We can then start from that mid-tone and start building up the values (lights and darks) of the painting while the wash is still wet, either by removing parts to make it lighter or by adding stronger or darker elements. This stage can be quite rough or detailed - it depends on the subject. In some cases the basic underpainting can be regarded as a final artwork in its own right.


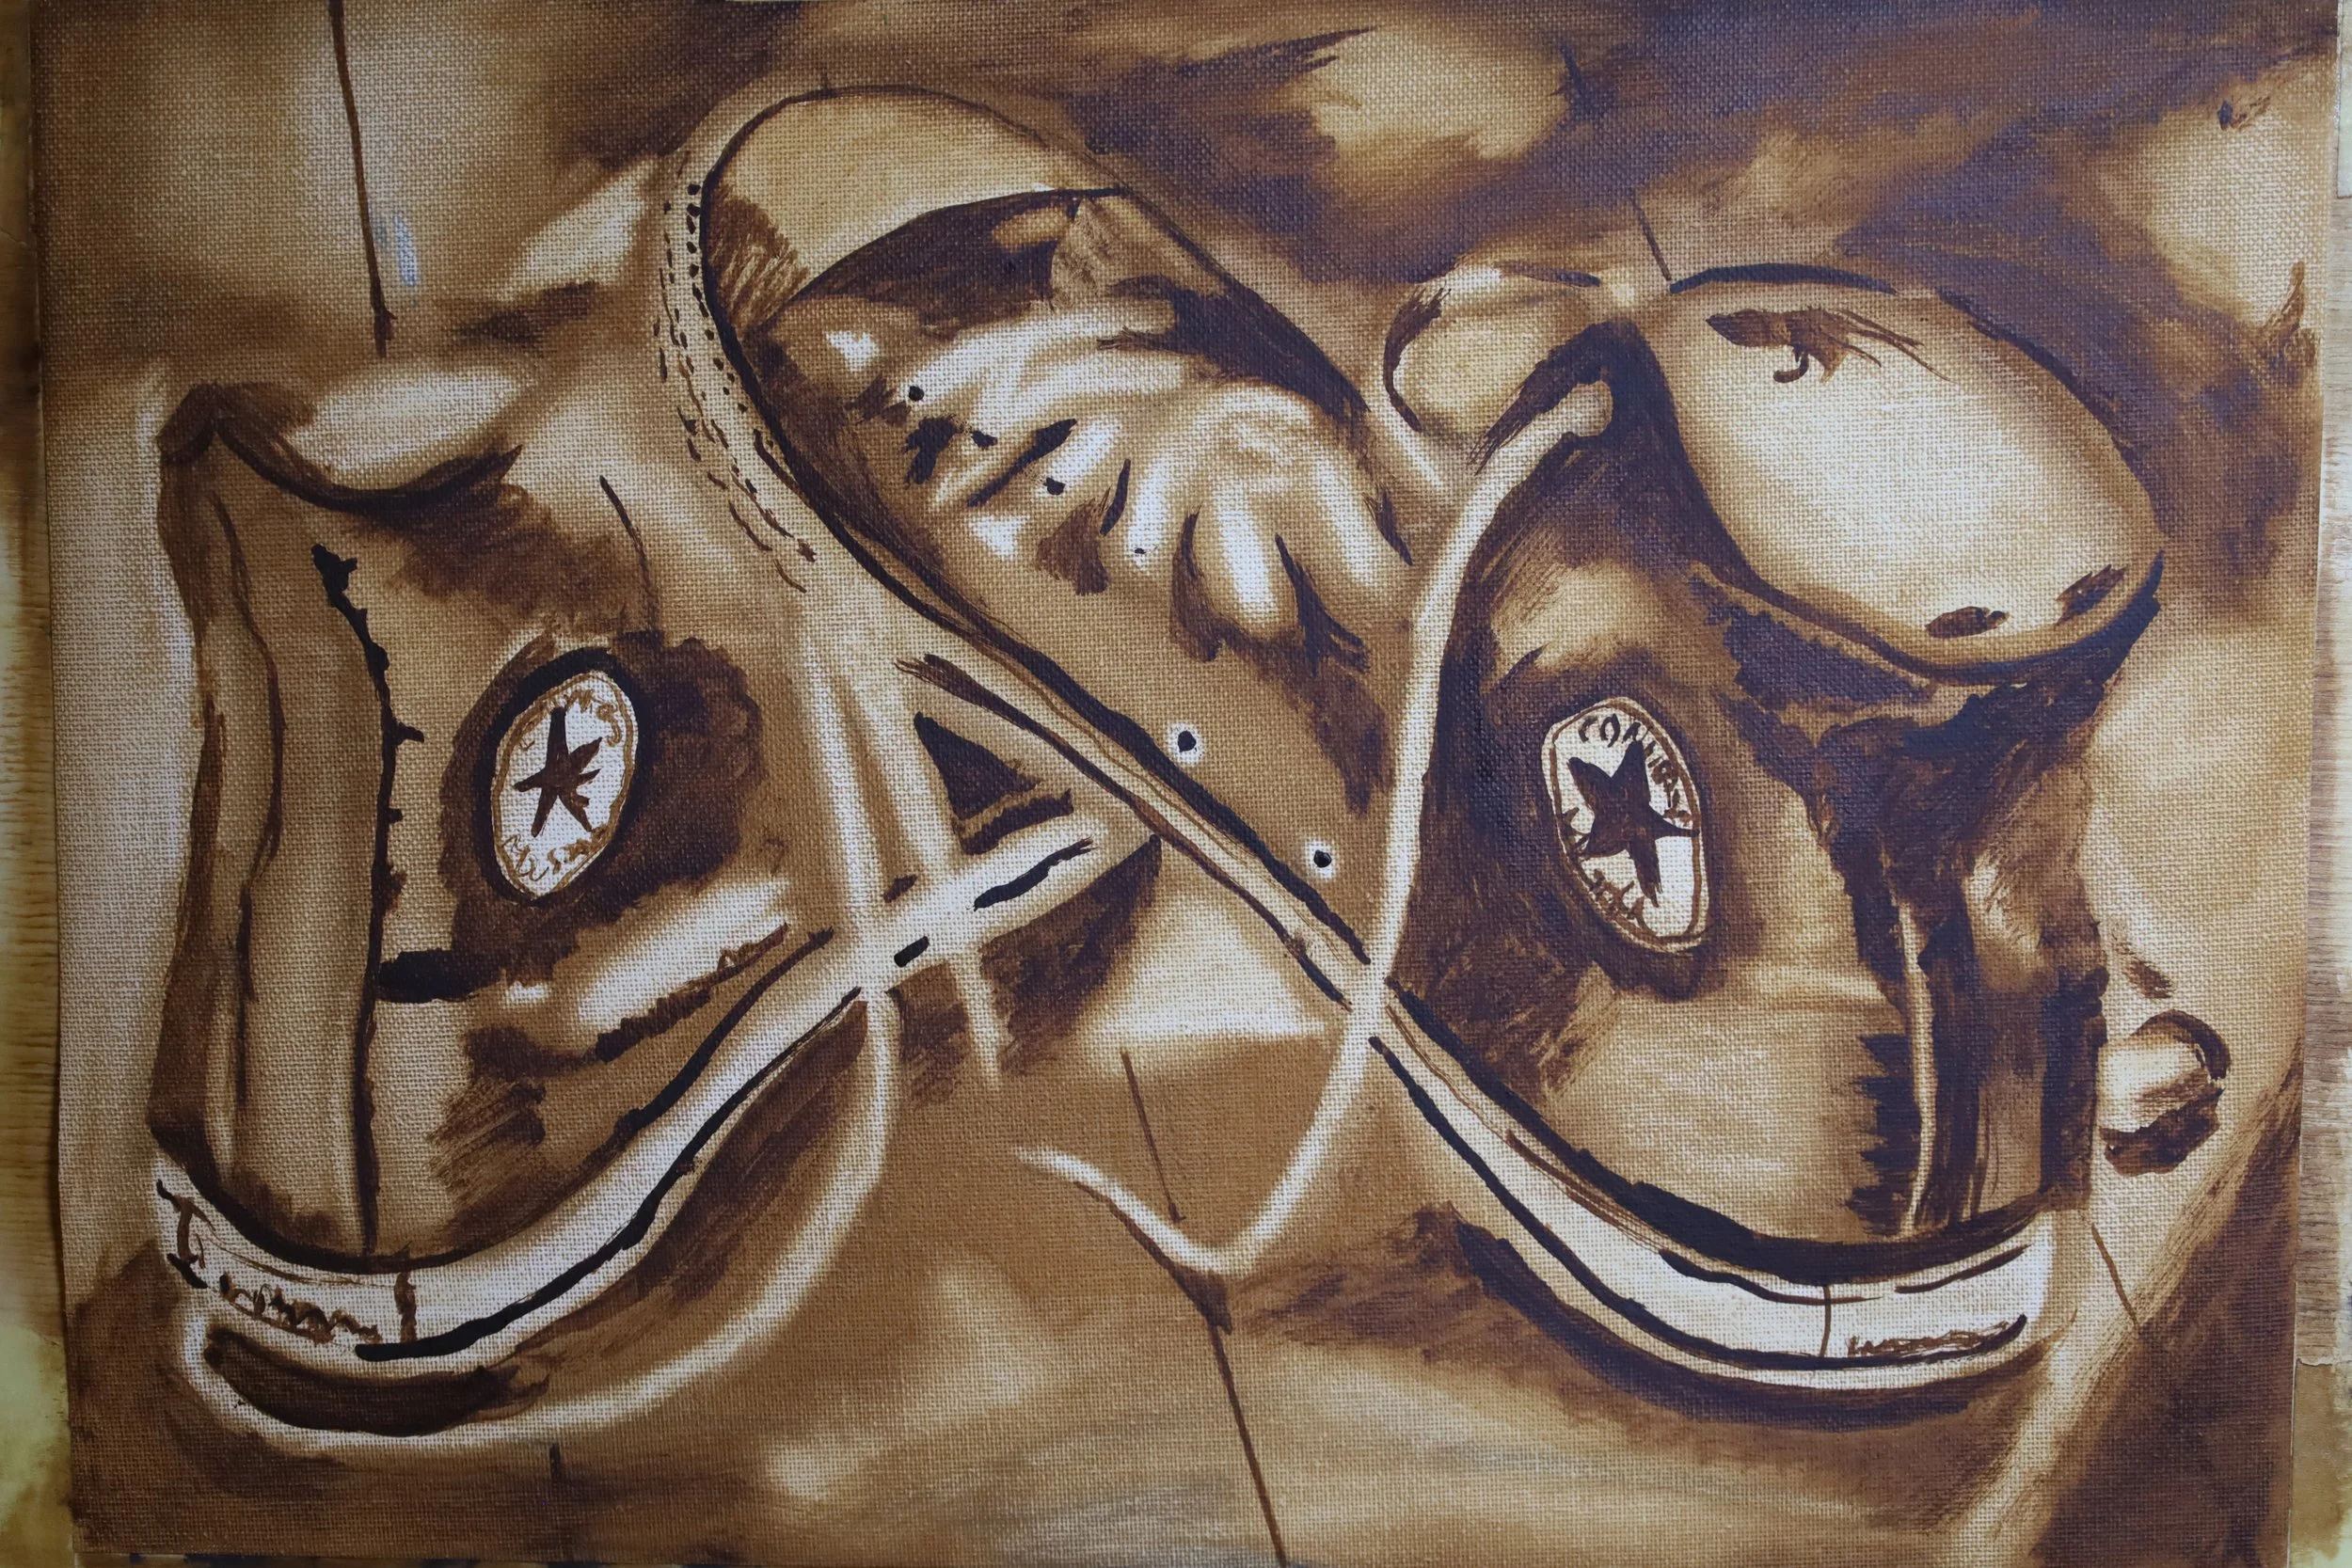
Once the basic values of light and dark are established (and the underpainting is dry!), we can proceed to the grisaille itself. Traditionally, warm colours like burnt umber would have been incorporated (Western European technique), or yellow ochre, which gives a greenish tinge to the work (“Verdaccio” technique used in Renaissance Italy). I generally use neutral greys for this with a set of premixed standardised greys that follow the Munsell scale of values.


You can see the level of detail increasing now that we can focus into the greyscale. Ideally, we’re trying to get a monochrome picture as good as if we’d taken a conventional black-and-white photo of the subject. This is where the grisaille method stands out because it means that the artist can focus on detail without having to bother with colour as well, it takes one variable out of the equation and leaves it for later during the glazing stage.

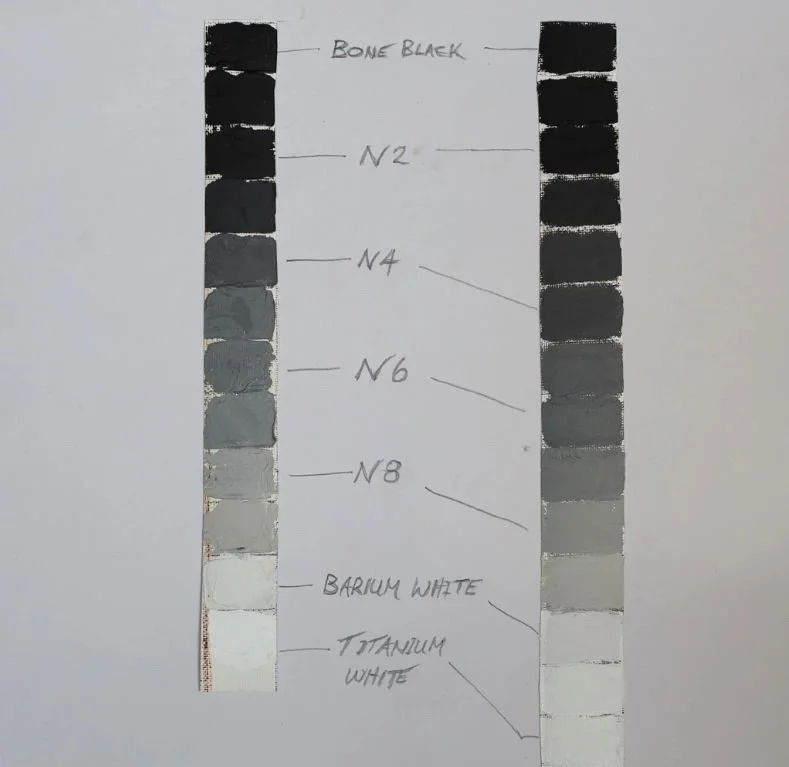
So the range runs from Bone Black (one of the darkest black hues, though it can produce a slightly blue note when mixed with white) through to Titanium White, which is probably the whitest white that is possible in oil paints. The shades between the standard “N” numbers can then be mixed, yielding a range of up to a dozen grey values. Most artists use only half that, but it demonstrates how nuances of shade can be achieved.


Once the grey layer (often called the “dead layer” because of the deathly pallor it imparts to faces) is done, the glazing can begin. This entails thinning individual colours of paint right down so that they add only a nuance of colour each time they’re applied. So the colour mixing actually happens on the canvas, in layers, unlike in direct painting where it happens on the palette before they’re applied. This can be a painstaking process because, again, each one has to dry completely before the next is added.
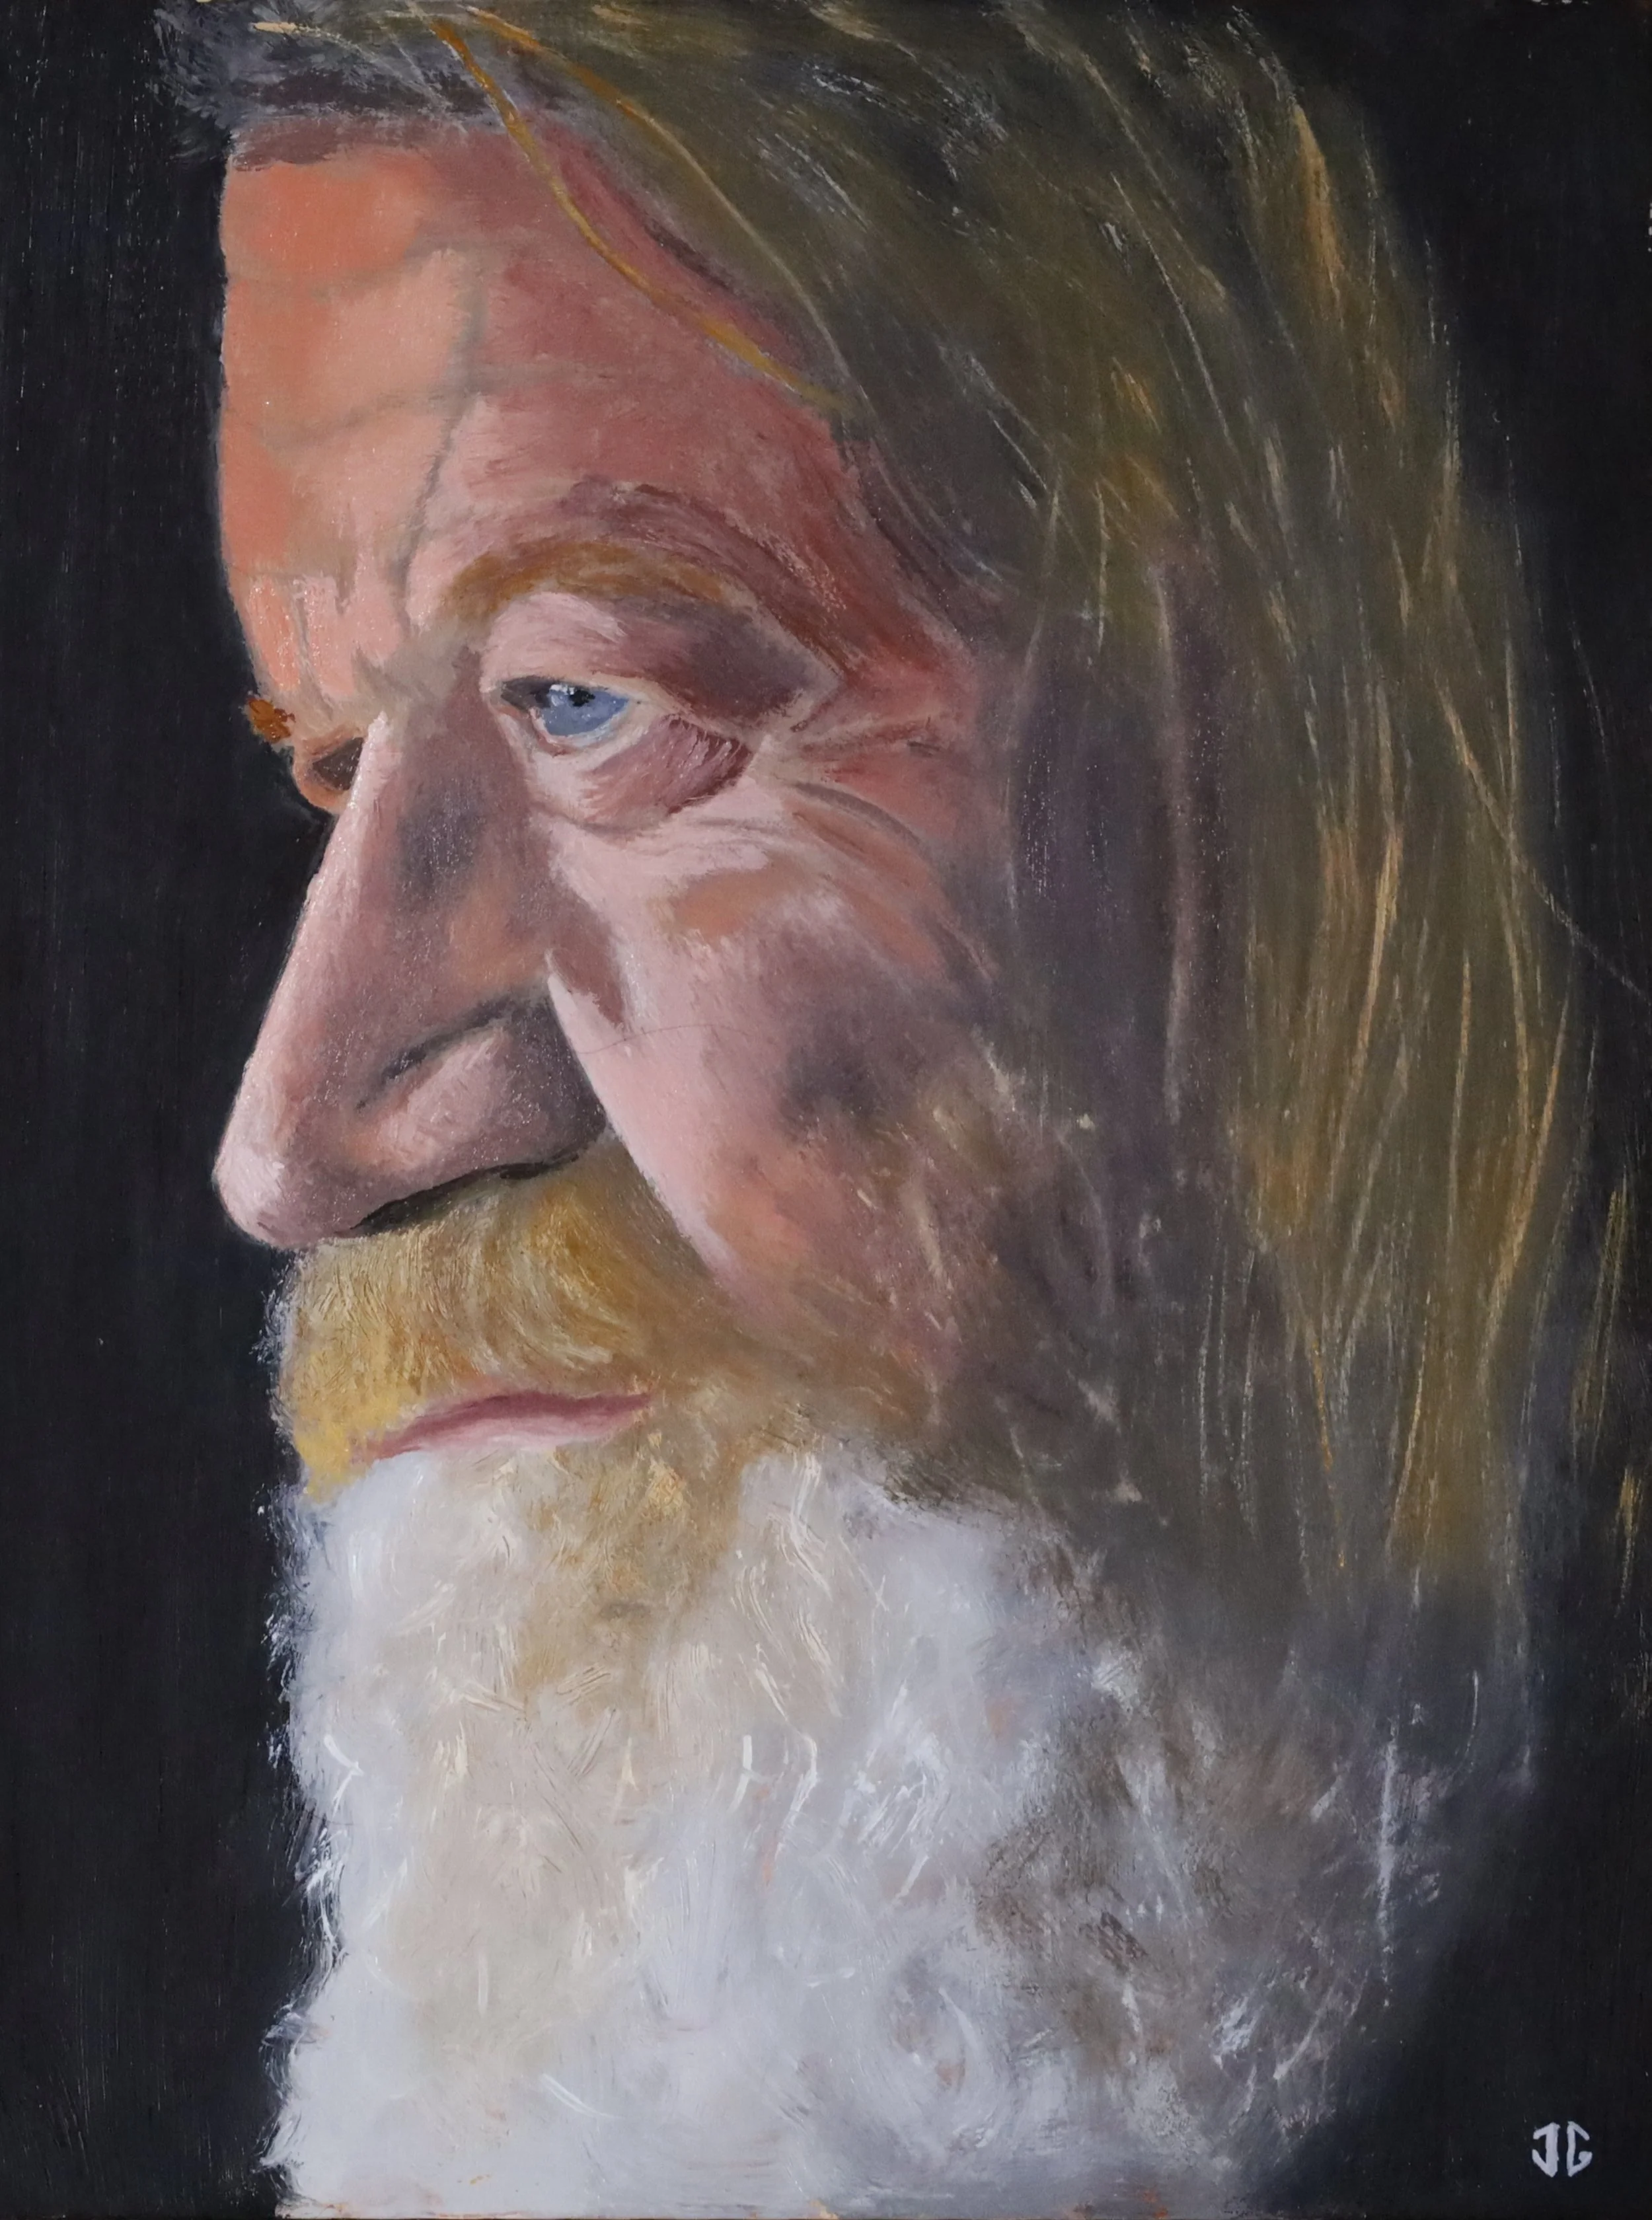
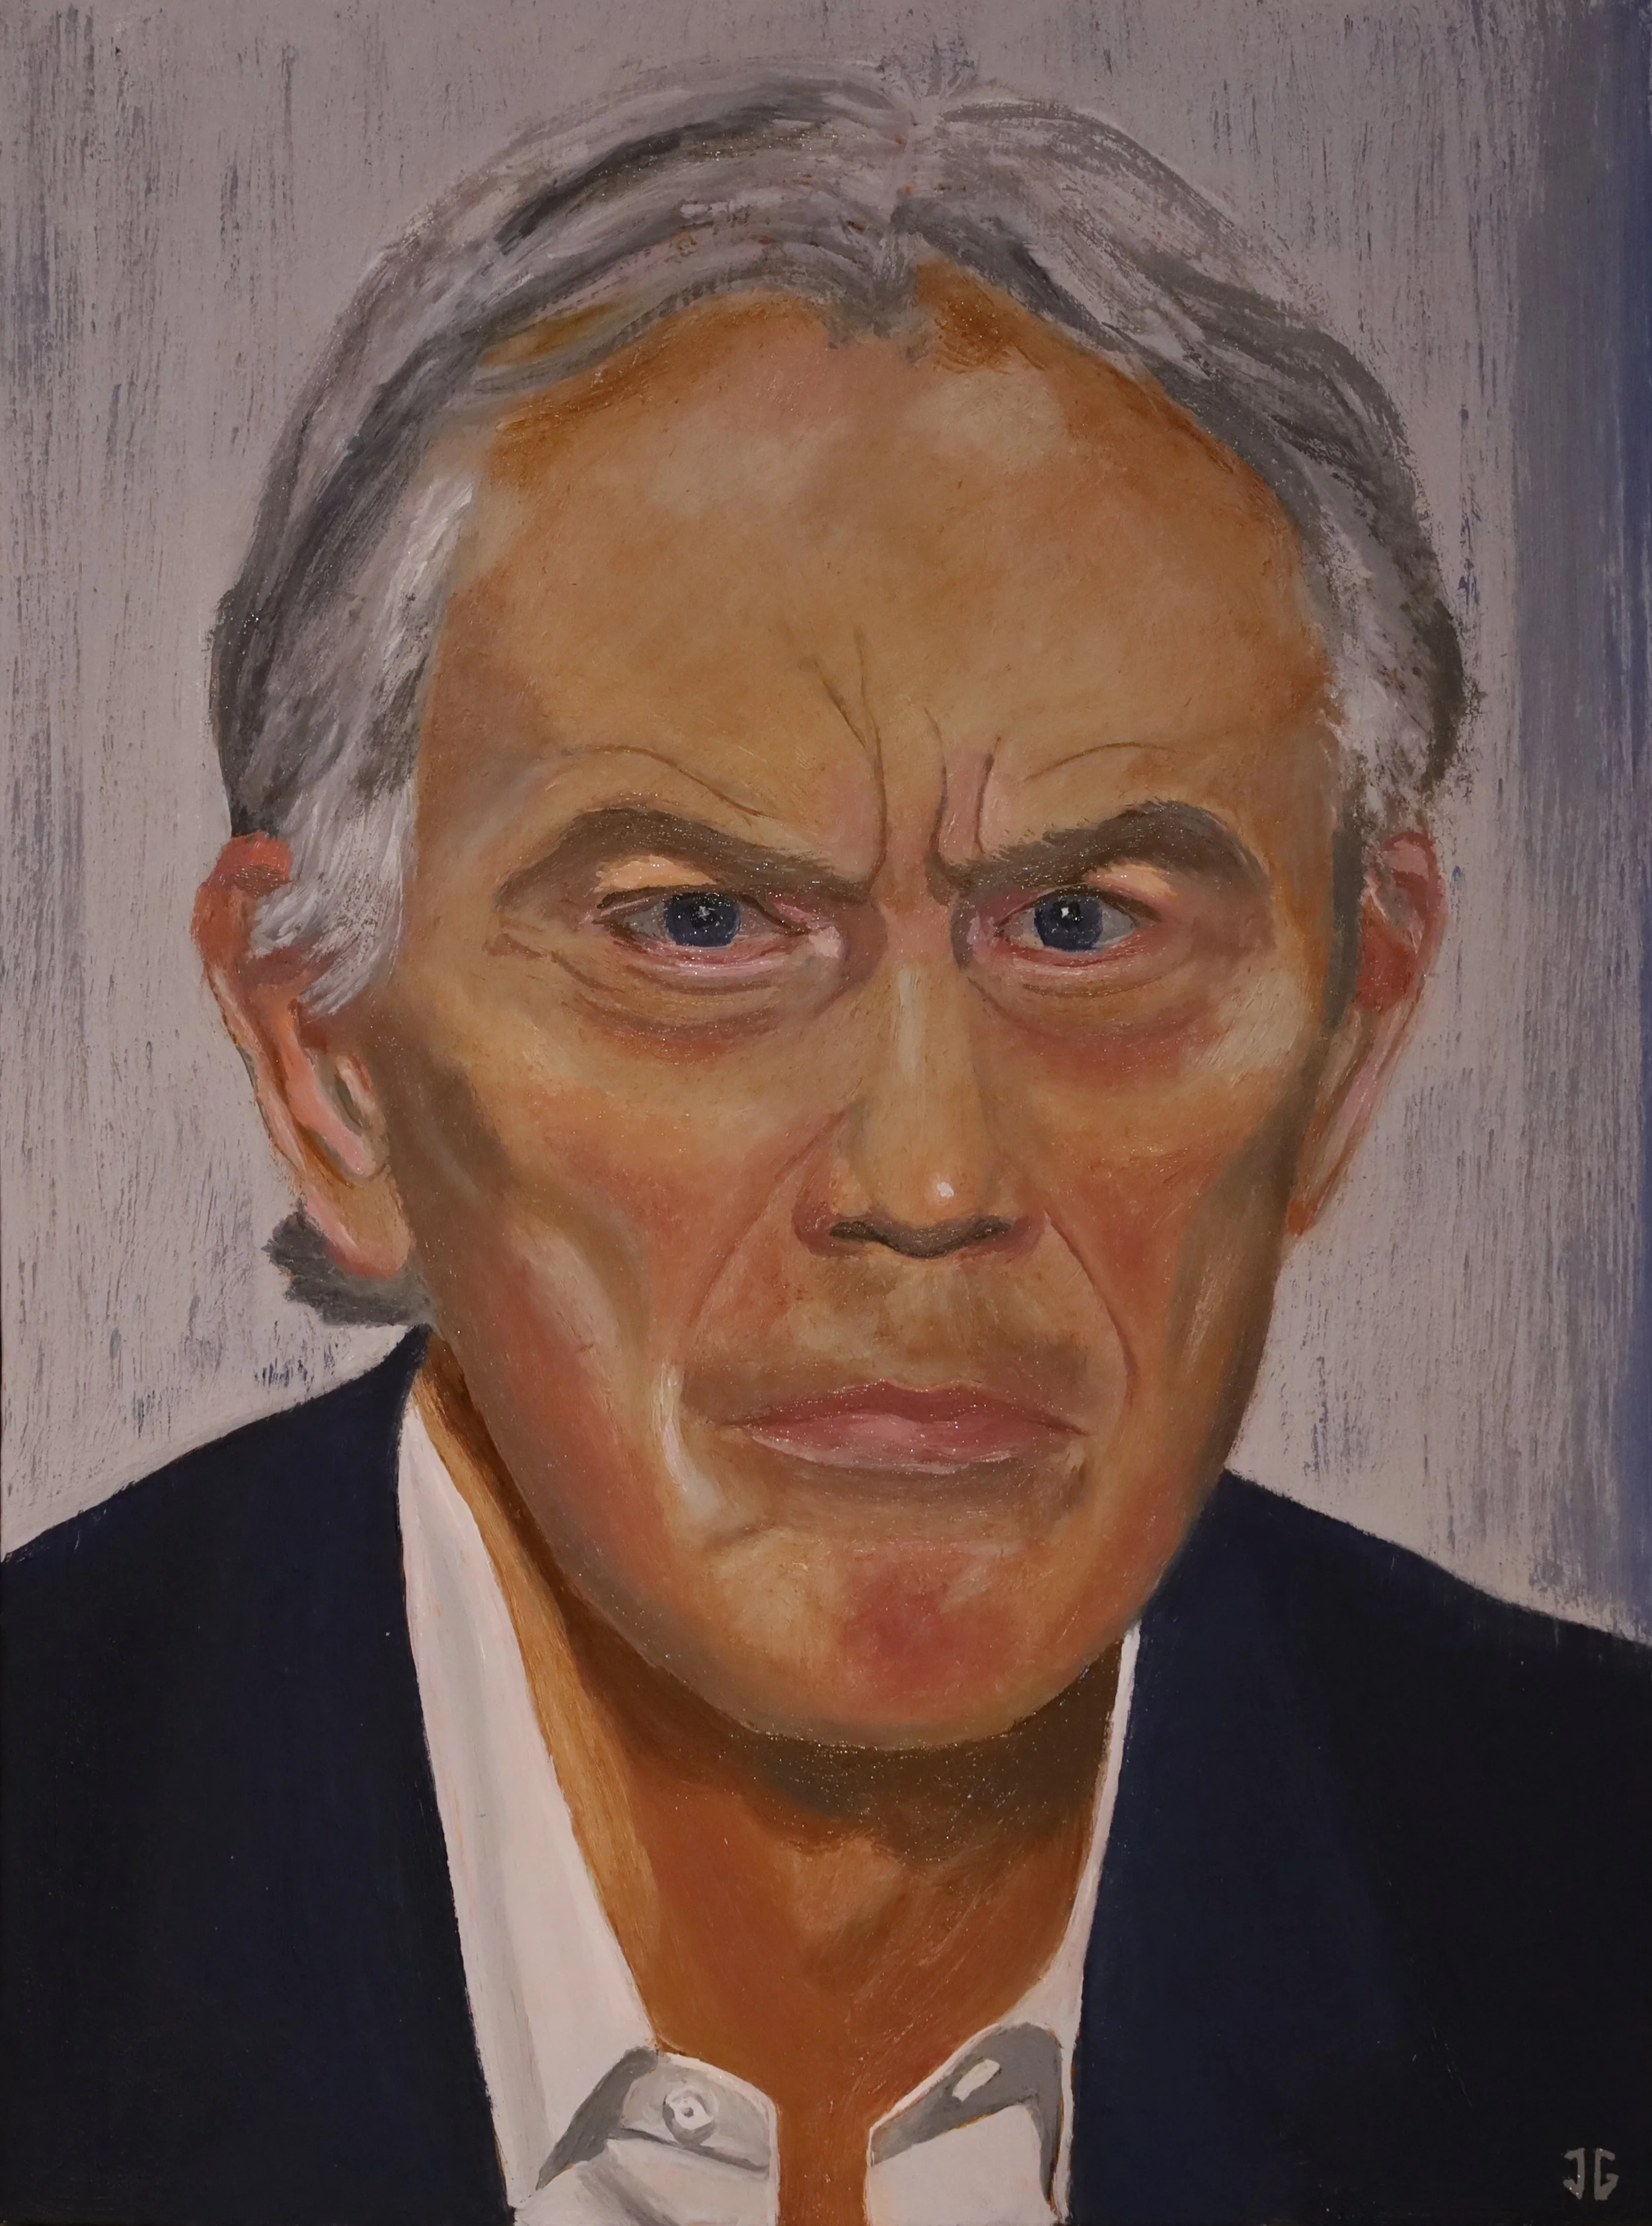
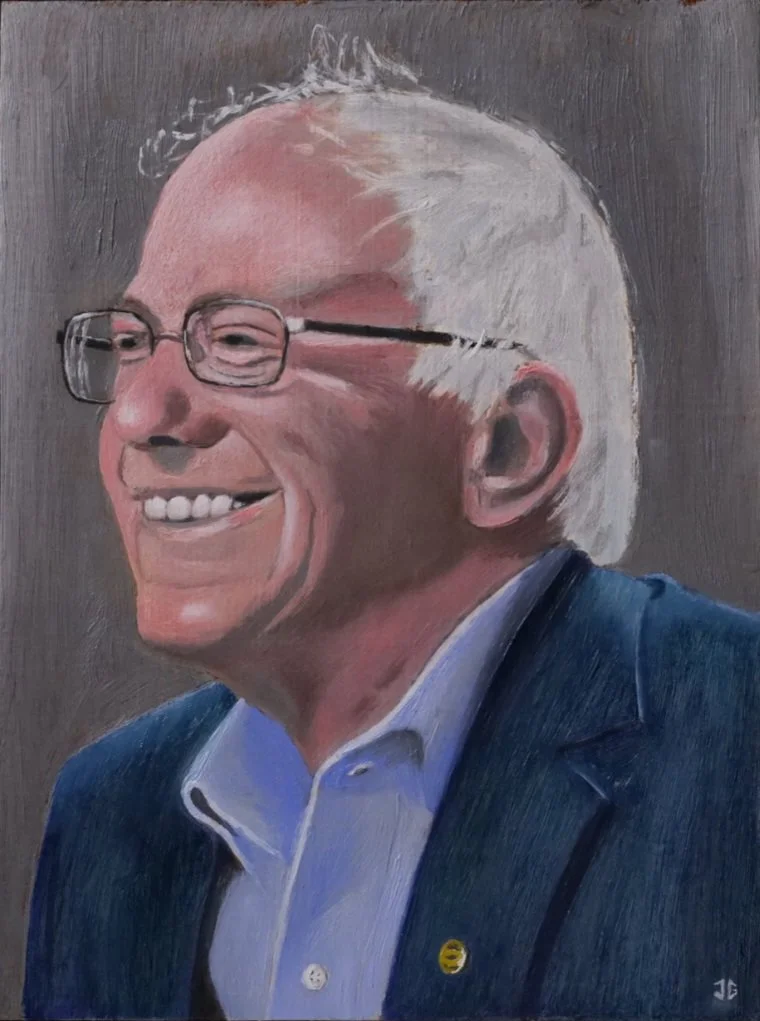
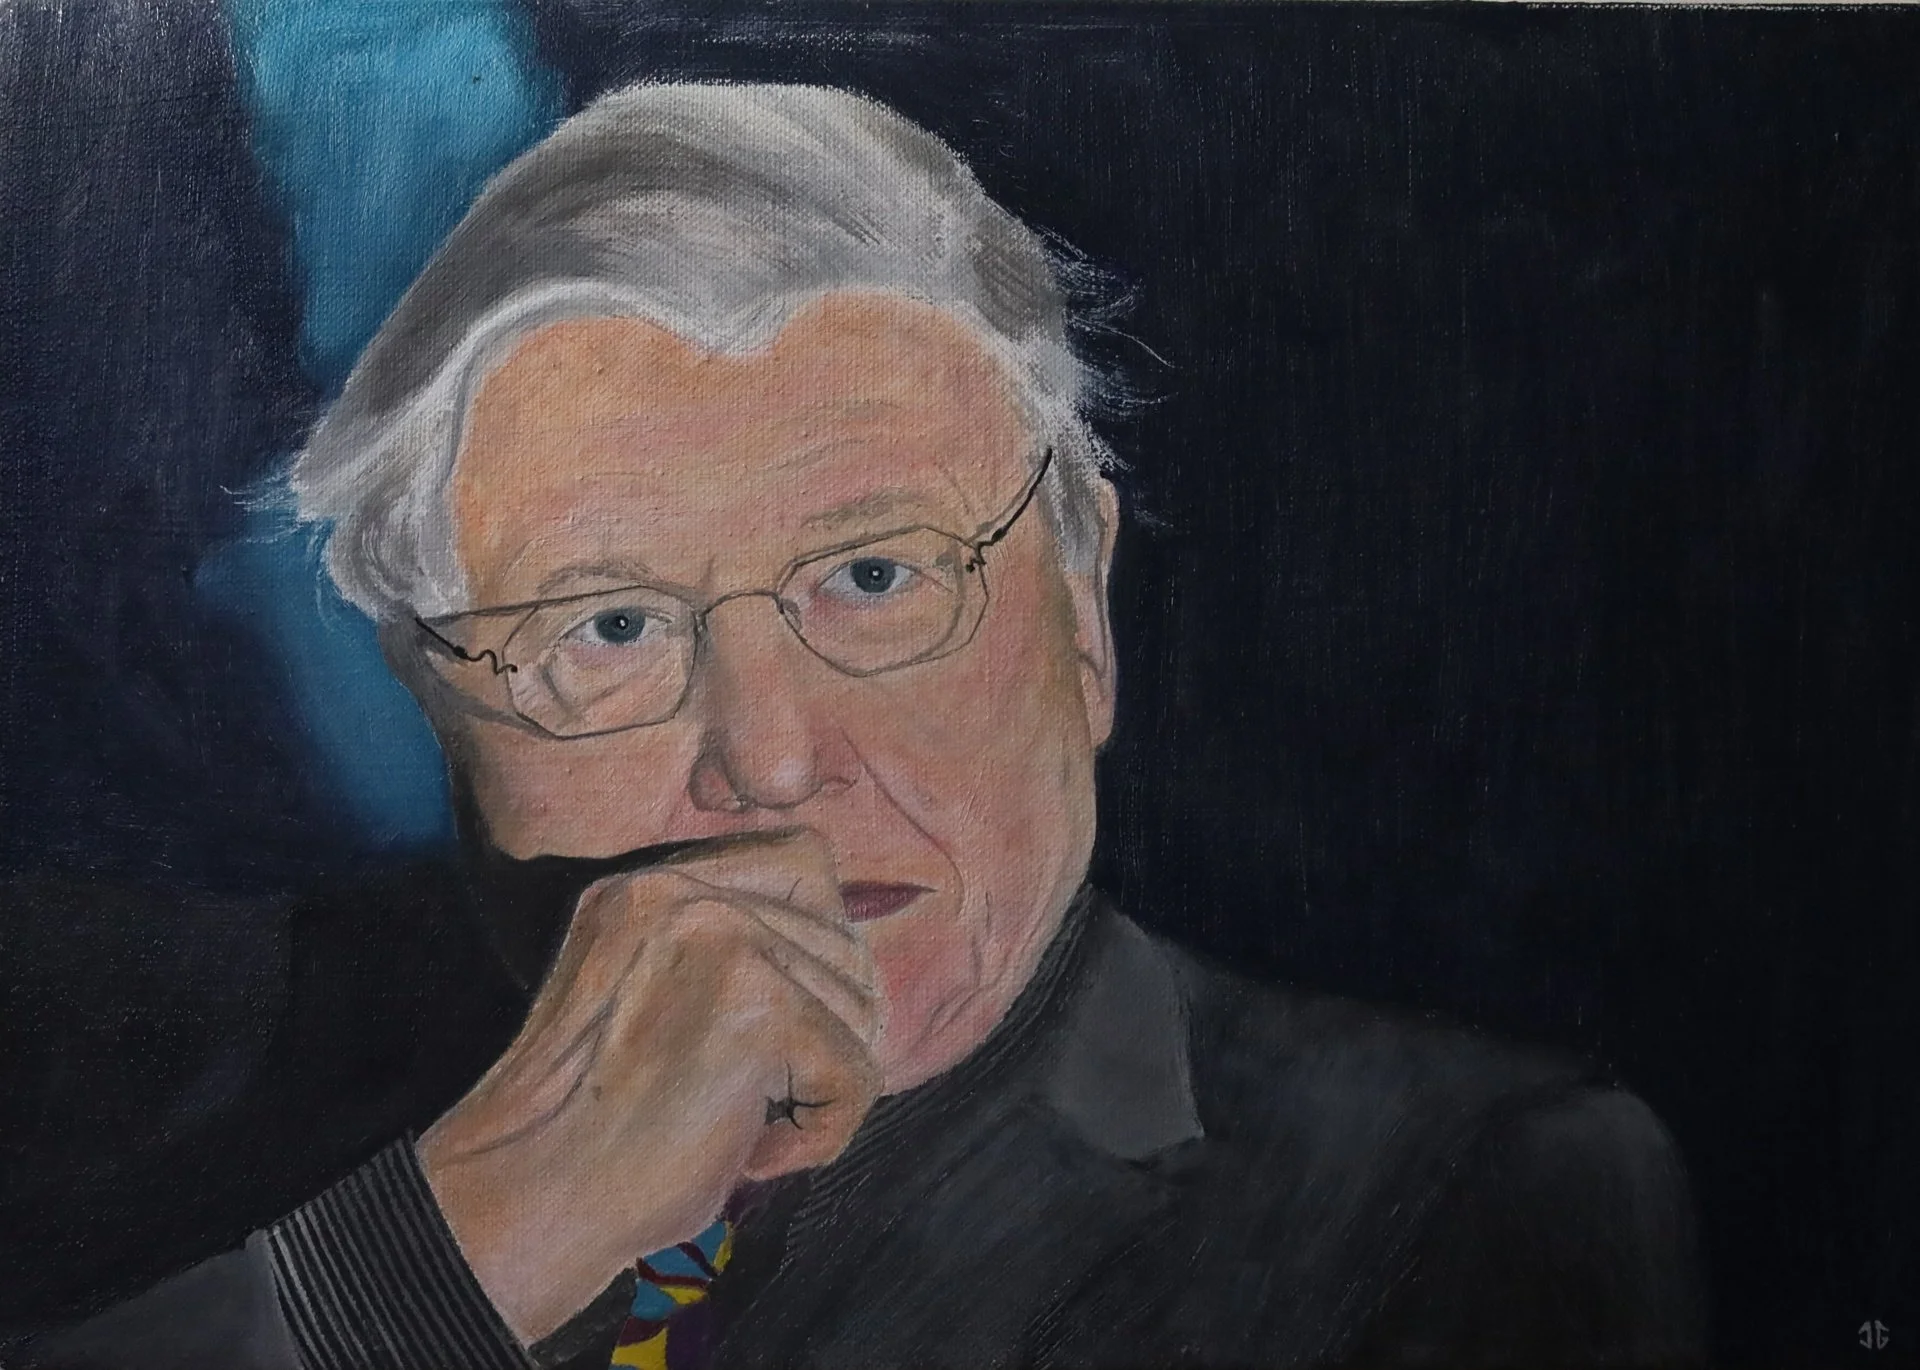
A few more examples below - you can see how a different character of colouring is developed.